Assignments and GitHub
A note on individual learning log assignments with GitHub
Within this course, you will individually submit your personal solutions for the course assignments to your personal GitHub-hosted learning log, i.e. your personal classroom repository. Don’t get confused about “your personal repository”. Once you have a GitHub account, you can create as many repositories as you like in your account, but for assignments within our courses always use your respective classroom repository.
The classroom repository will be created automatically by following a link to the respective classroom assignment, which you can find in Ilias. Your classroom repository will be hosted as part of GeoMOER, our learning log space at GitHub for Marburg Open Educational Resources. The submissions generally encompass R or R markdown AND the compiled html files. For details see the Deliverables section.
To start with, get yourself a GitHub account if you do not already have one and create your personal learning log using the link provided by the course lecturers. Be aware that once the learning log repository is created, you will stick to this until the end of the course. Please also add your full name or your student account name to your GitHub profile.
Aside from submitting assignments, you should use your repository for everything related to this course which is potentially subject to version control, team collaboration and issue tracking.
Now it’s time for your first R code, which will be put into an R markdown document.
How to connect RStudio with GitHub
Once you have worked through the R/RStudio and Git/GitHub installations, it’s time to connect them.
- Create a new project in RStudio.
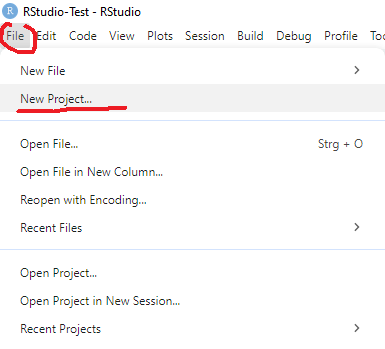
- Use the version control kind to allow a Git connection.

- Choose Git.

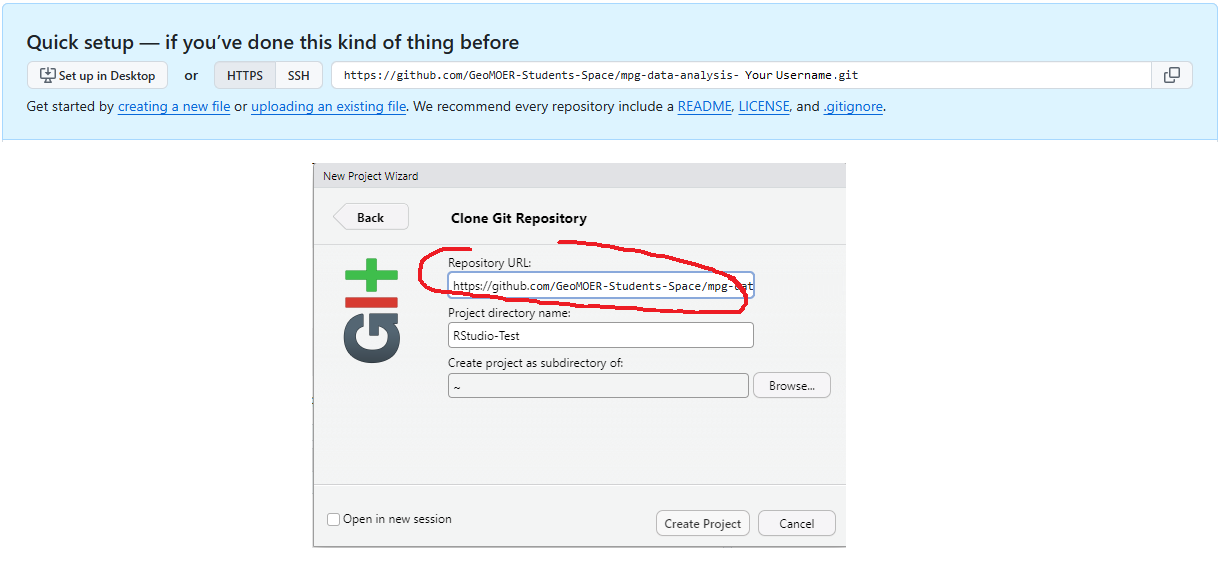
- Copy your personal repository URL from GitHub-Classroom and insert it into the project wizard in RStudio.
-
Your browser will open a window with environmental settings for GitHub. Accept those.
-
Create a new file of your choice in RStudio. In this course you might want to use a Markdown file (.Rmd).
-
To upload your file to GitHub, click the “GIT” button in the menu above your script and choose “Commit”.
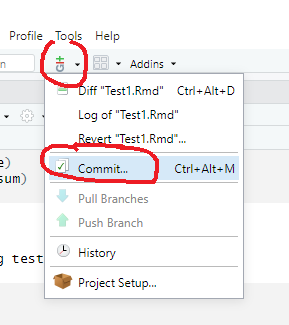
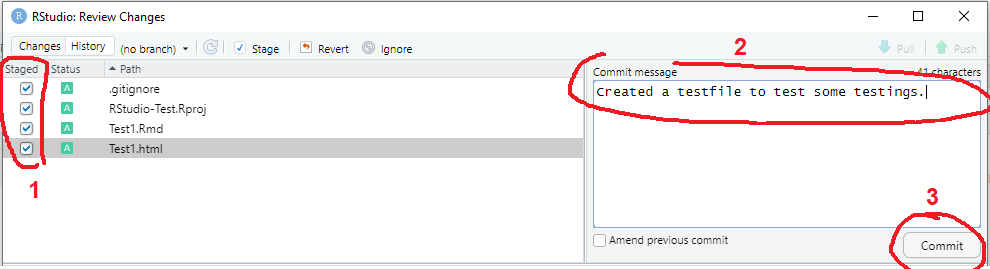
- A window will open. Select all files that you want to upload (1) and leave a note (2) to later identify what you’ve done. Then commit (3).
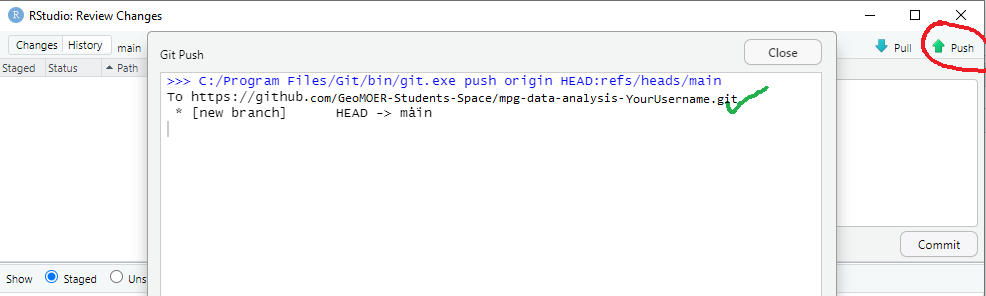
- Once you are done committing all the changes, click “Push” to load them into your online repository. A text message will confirm what just happened.
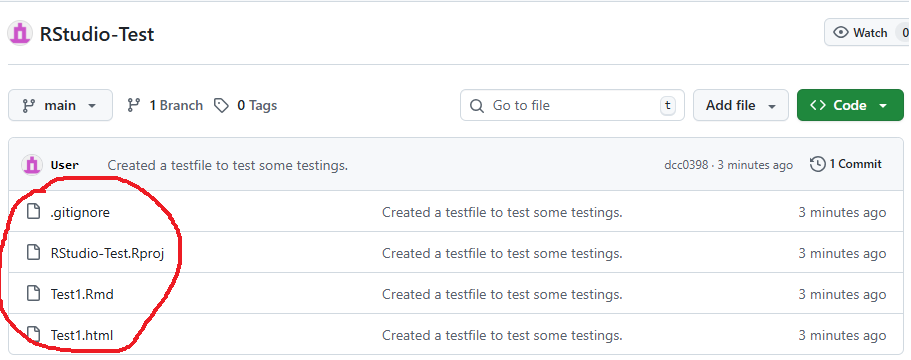
- Take a look at your repository on GitHub. The files will show up there.
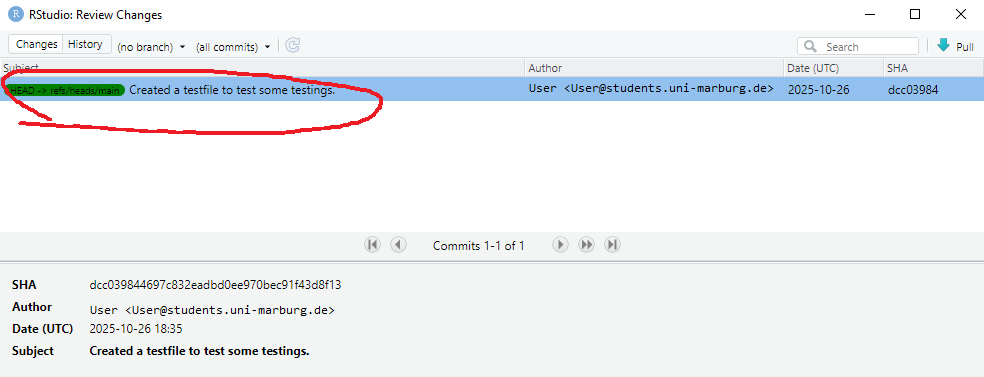
Additionally, the history of changes is saved in a change log in RStudio.