
Programming - take scheduled time-lapse images
This guide walks you through setting up a headless Raspberry Pi Zero to take a burst of images at regular intervals. You can do this using only a cron job (Option A) or enhance it with a Witty Pi Mini for power control (Option B).
Create sh script for operating the camera
First, create the image capture script:
sudo nano /usr/local/bin/capture-by-day.sh
This should open an empty .sh Paste the following in there:
#!/bin/bash

# Base directory to store images
BASE_DIR="/home/moth/Pictures"

# Get current date info
TODAY=$(date +"%Y-%m-%d")
TIMESTAMP=$(date +"%H-%M-%S")

# Create directory for today's date if it doesn't exist
TARGET_DIR="$BASE_DIR/$TODAY"
mkdir -p "$TARGET_DIR"

for i in {1..10}; do
    TIMESTAMP=$(date +"%H-%M-%S")
    libcamera-jpeg -o "$BASE_DIR/$TODAY/image_$TIMESTAMP.jpg" --width 1920 --height 1080 -n
    sleep 30
done
Close it and make it executable:
sudo chmod +x /usr/local/bin/capture-by-day.sh
Option A: cronjob only
This option uses cron to schedule the capture script without power management.
crontab -e
Add the job to run every 10 minutes:
*/10 * * * * /usr/local/bin/capture-burst.sh
To see how to configure other cron jobs, see here
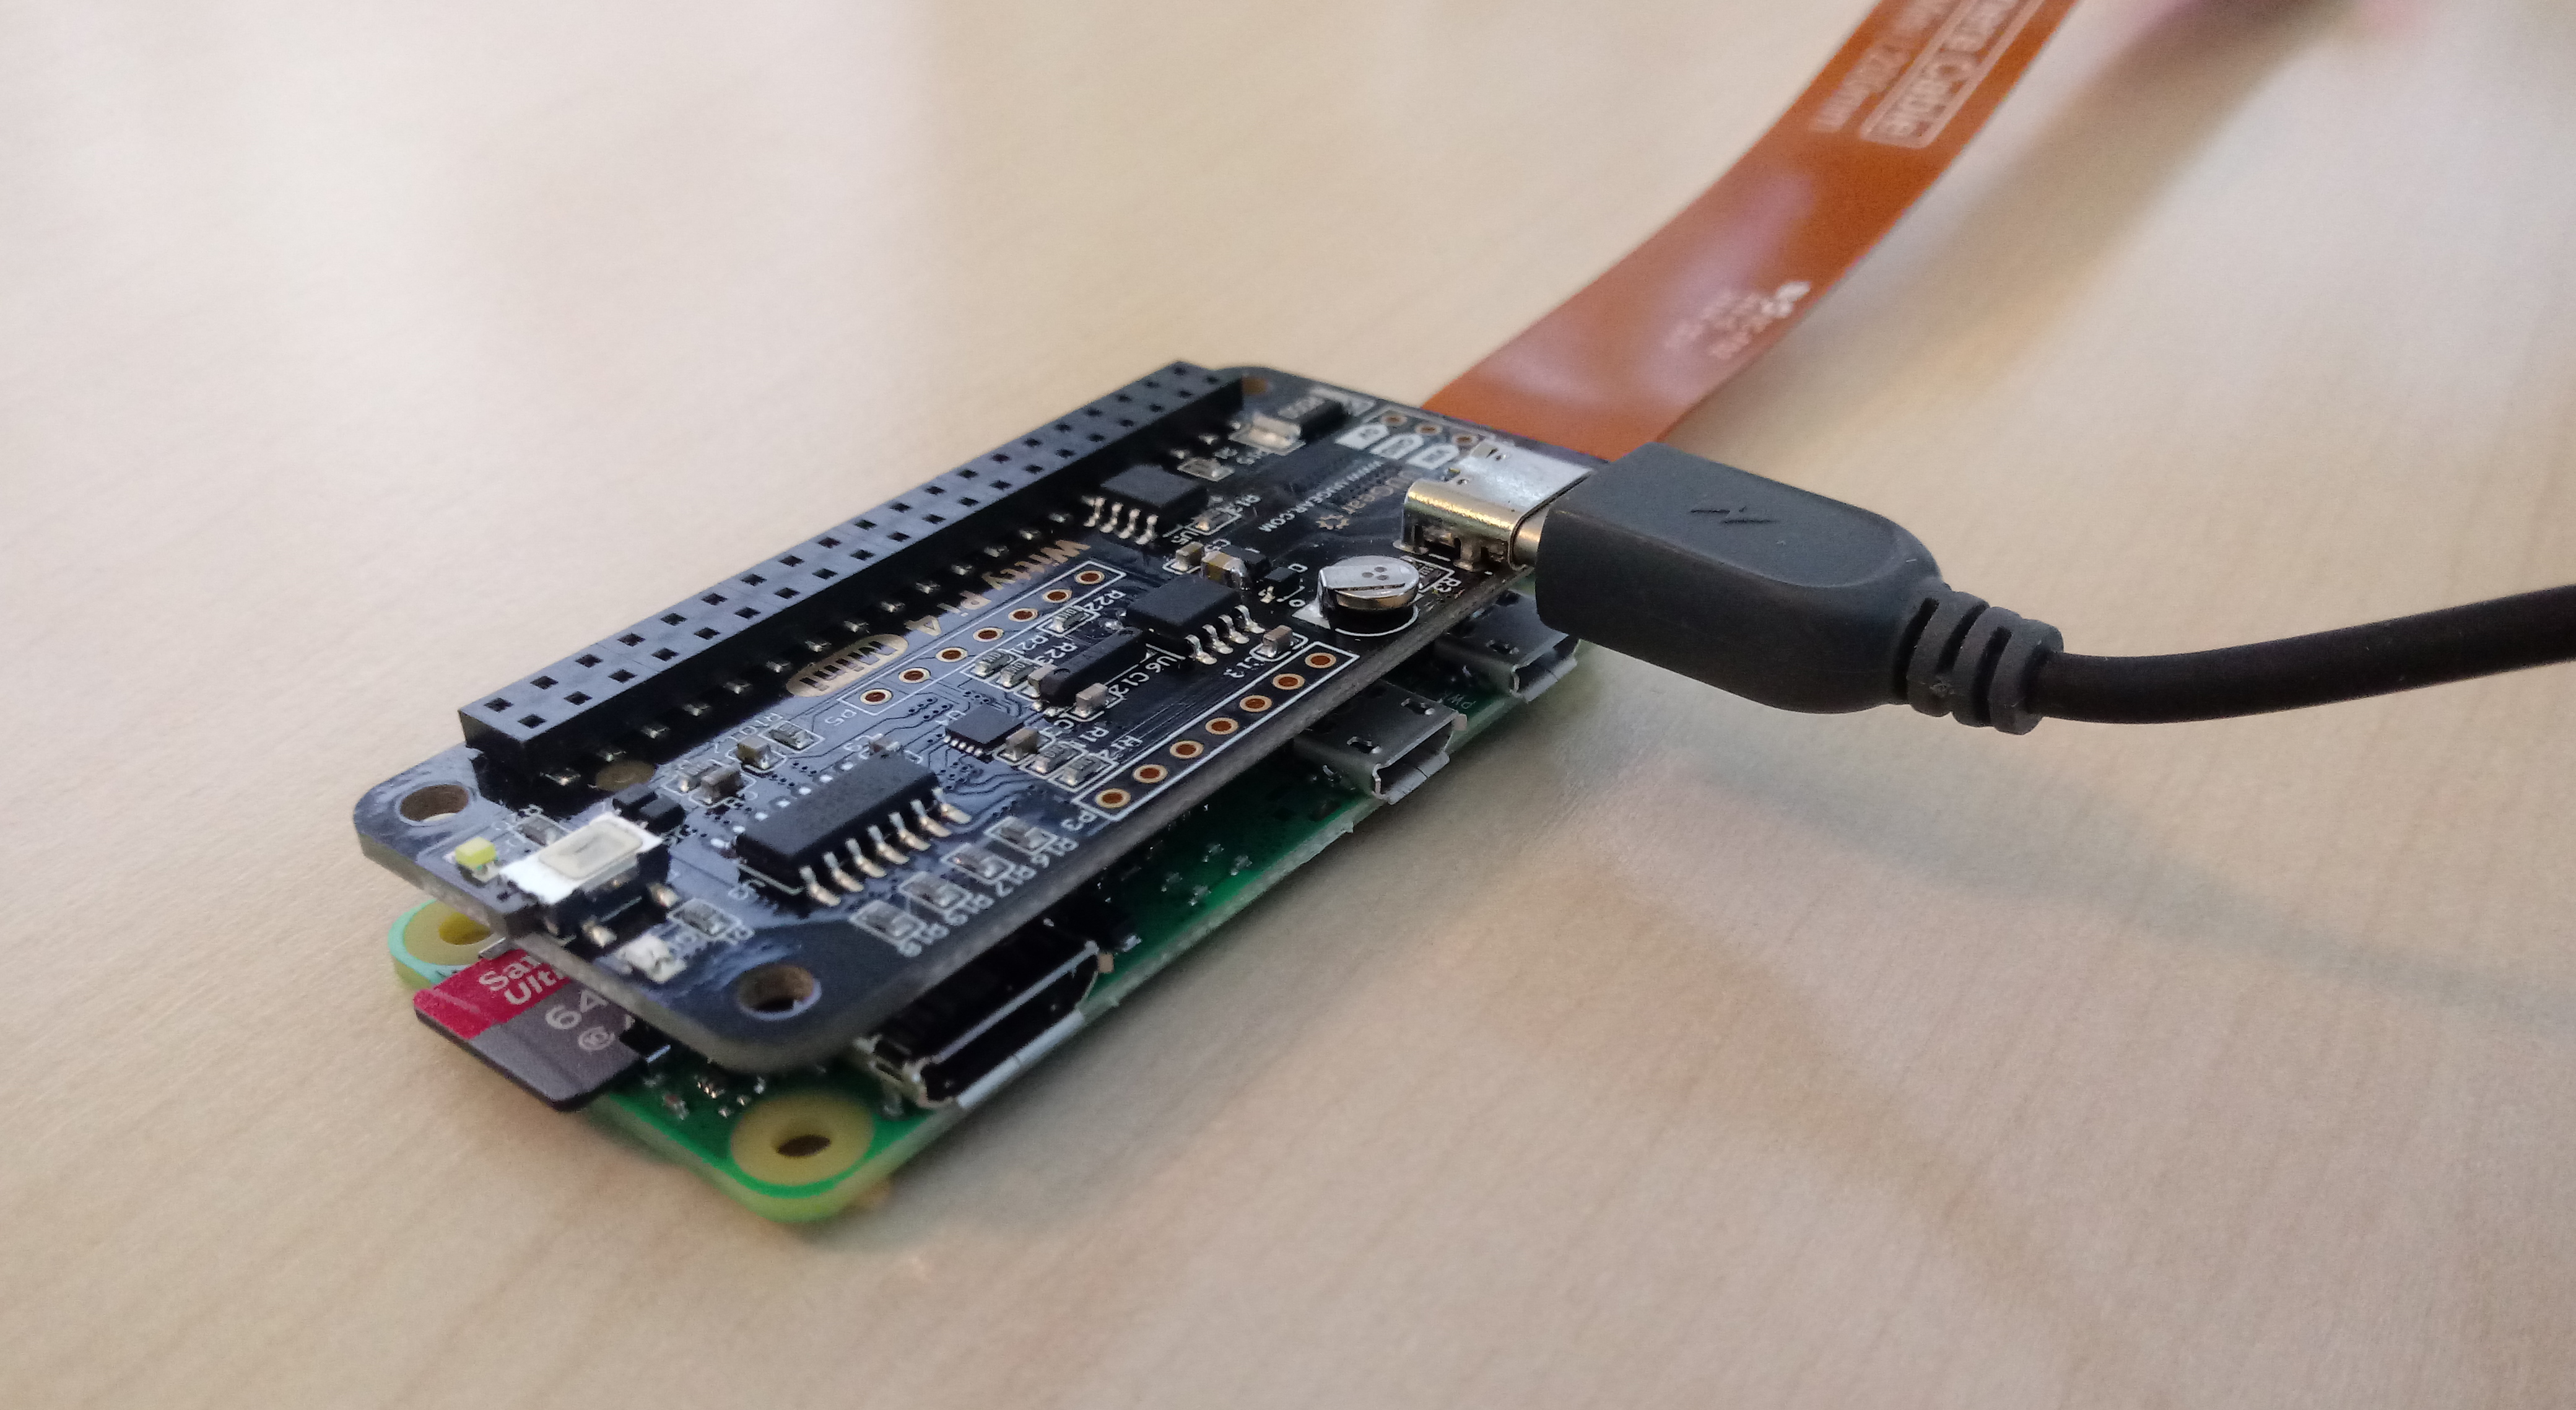
Option B: with witty pi
Use the Witty Pi to turn on the Pi, run the script at the boot, then shut down.
We can thus make the cronjob start at reboot:
@reboot /usr/local/bin/capture-by-day.sh
Now, let’s configure the wittyPi-schedule:
~/wittypi/wittyPi.sh #check whether the path is right for your installation
Now, synchronize the RTC with your system by typing “3”. With typing “13” you exit. Navigate to the wittypi folder and add another schedule.
BEGIN   2025-05-13 00:00:00  #make sure that's in the future
END     2025-06-01 00:00:00  #make sure that's in the future
ON      M10         # Turns on every 10th minute
OFF     +00:06      # Stays on for 6 minutes
Activate the schedule by opening ahain the wittyPi.sh:
~/wittypi/wittyPi.sh #check whether the path is right for your installation
Select 6 and your new schedule
Note: When you activate a schedule, the pi will shut down - this should be the last step. If you realize you want to change something, you have to switch it on again - the schedule will still run in the background. Switch it off by opening the wittypi shell, and selecting “12”.