
Control unit
At their core, control units are essentially electronic devices responsible for managing and directing the operation of other components within a system. In the context of biodiversity monitoring, a control unit, such as a microcontroller or a mini-computer like a Raspberry Pi, serves as the brain of the monitoring setup.
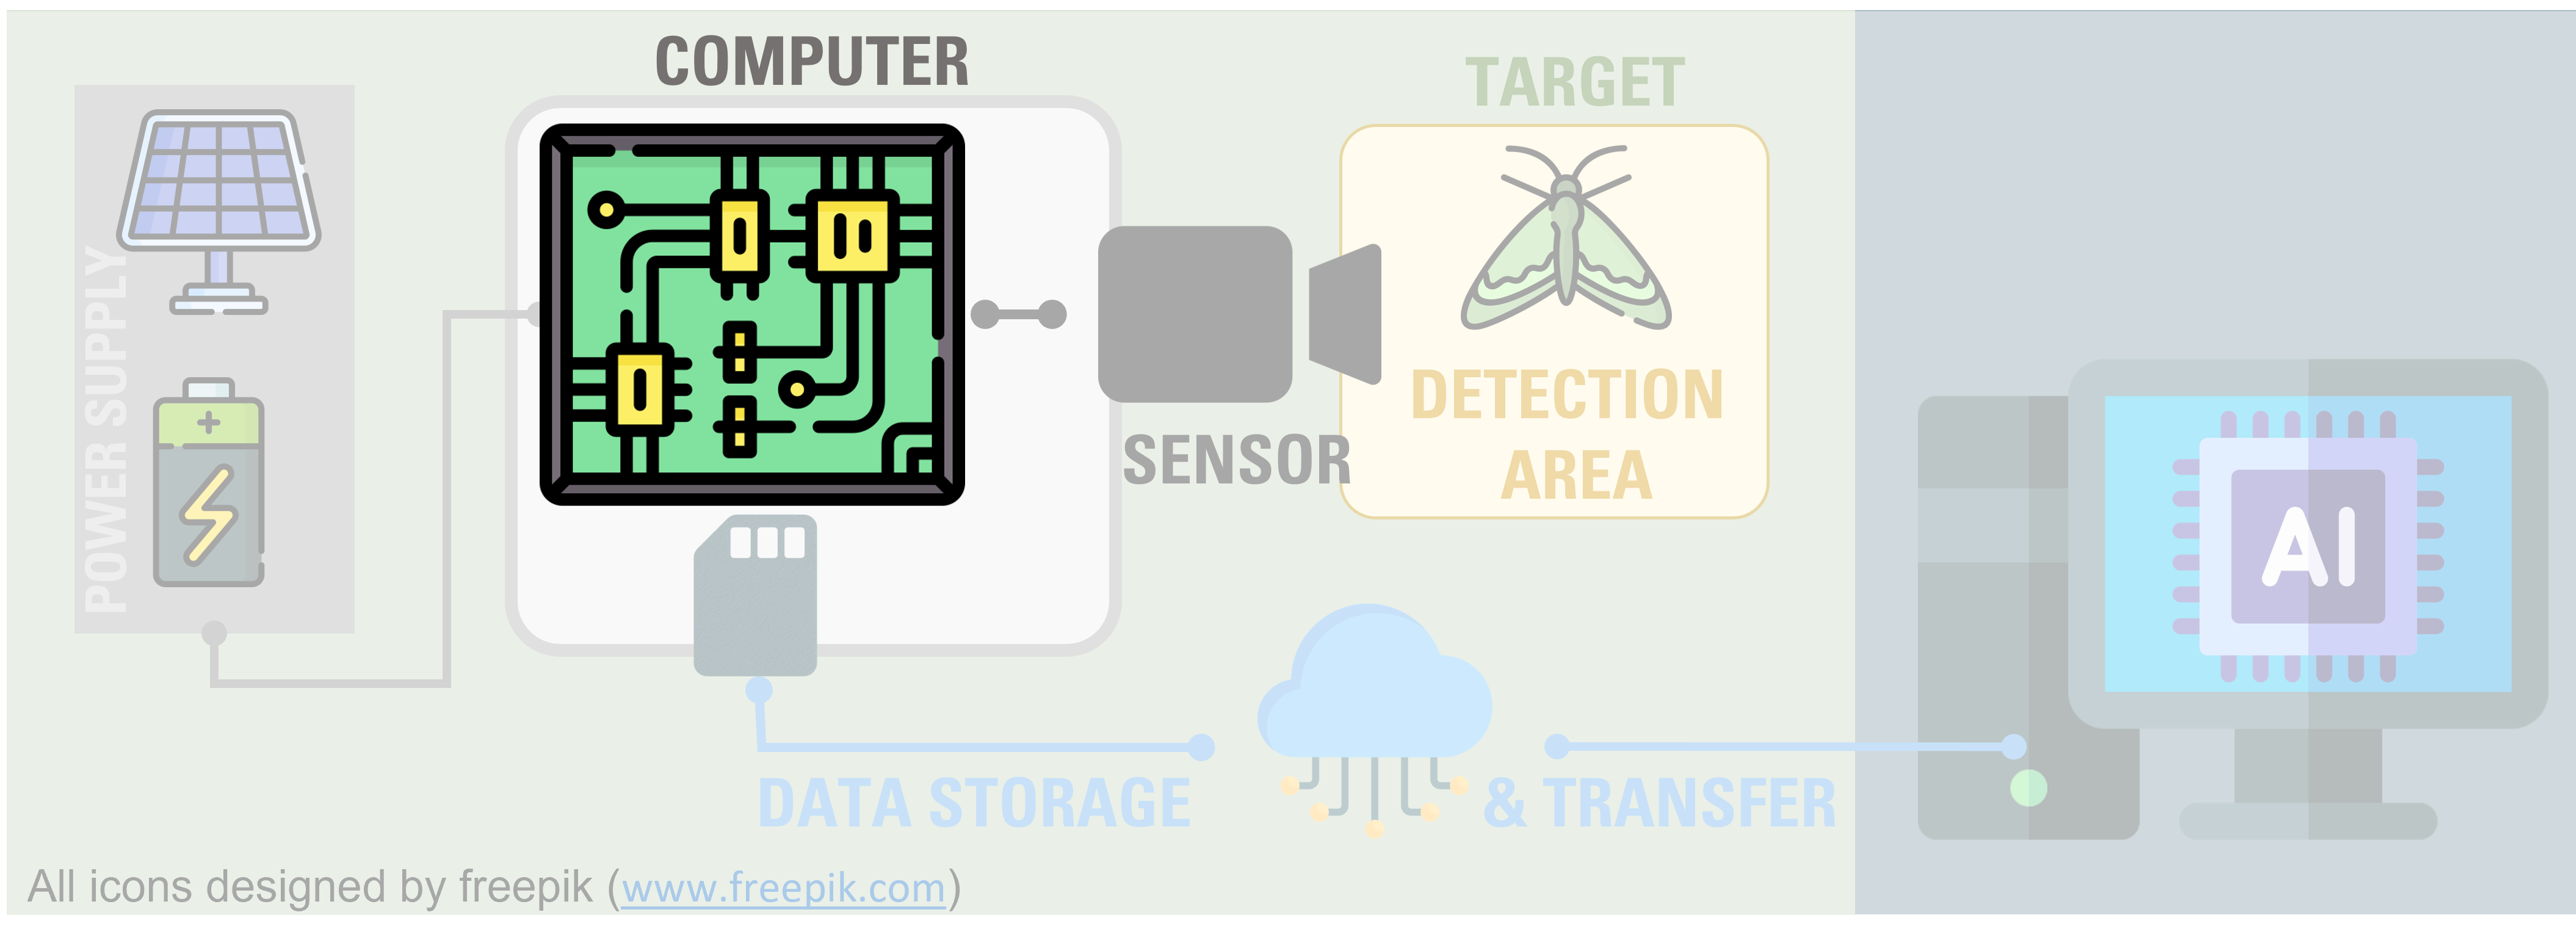
Control units interface with the various sensors to gather data from the surrounding environment. They can also control additional equipment, such as the UV light. Once the control unit receives data from the sensors, it might processes this information using embedded software and/or automatically store the data and or pass the data to be transmitted according to schedule.
Control in different sizes
As mentioned before, Raspberry Pis are often used, which is why we’ll focus on them in this course. However, there are different versions. The Raspberry Pi is the original single-board computer, with the highest computational power and interfaces. The Pi Zero is a smaller and more affordable version of the Raspberry Pi. The Raspberry Pi Pico is a microcontroller board developed by the Raspberry Pi Foundation. It’s a departure from the traditional Raspberry Pi single-board computers and is instead designed to compete with microcontrollers like Arduino.
| Feature | Full version | Zero | Pico |
|---|---|---|---|
| Price | 35$ | 15$ | 4$ |
| Functionality | single-board-computer | single-board-computer | Microcontroller |
| Programming | C/C++, Python, others | C/C++, Python | C/C++ MicroPython |
| Connectivity | HDMI, USB, Ethernet, GPIO pins, etc. | Mini HDMI, USB, GPIO pins | GPIO pins |
| Power consumption | moderate to high | low to moderate | low |
| Size | larger | small | small |
| Operating System | Linux-based | Linux-based | none |
Adding sensors
Raspberry Pi and similar microcontroller platforms such as Arundio have pins, which are physical points for electrical connections. Each pin on a microcontroller can serve a specific purpose depending on how it’s configured in software. Common types of pins include GPIO (General Purpose Input/Output) pins, which can be configured for digital input or output, and analog pins, which are used to read analog voltages. Pins are often numbered or labeled to aid in identification and wiring. For example, GPIO pins on the Raspberry Pi are typically numbered sequentially. Pins may have specific voltage and current limitations that must be observed to prevent damage to the microcontroller or connected components. For instance, GPIO pins on the Raspberry Pi operate at 3.3 volts, while on Arduino boards, they operate at 5 volts. There are several types of pins:
Power Pins: These pins provide power to the board and connected peripherals. For example, on a Raspberry Pi, you have pins for 5V (providing 5 volts), 3.3V (providing 3.3 volts), and ground (GND)
Digital Input/Output (I/O) Pins: These pins can be configured to either input or output digital signals. They can be used to read digital sensors, toggle digital switches, or communicate with other digital devices. On a Raspberry Pi, GPIO (General Purpose Input/Output) pins serve this purpose.
Communication Pins: These pins facilitate communication between the microcontroller and other devices using various communication protocols such as UART, SPI, and I2C. On a Raspberry Pi, these pins are multipurpose GPIO pins that can be configured for communication protocols.
Which one is which can be seen in so called PIN diagrams here or here
Attention: wrong wiring can fry your sensor box. In this course, your creativity will thus be tested using simulations.
Have a look at this tutorial by Andreas Spiess on how to connect the sensors to the control unit:

You can practice adding sensors to your pi pico digitally on wokwi.com.