| EX | Working with EnMAP hyperspectral data |
In this exercise, you will learn how to download and work with EnMAP hyperspectral data.
Getting started with EnMAP data
EnMAP was launched on 1 April 2022. This exercise demonstrates how to request and download images for your study region.
Registration with EnMAP
- Go to the EnMAP website and open the Instrument Planning Portal.
- Select “Sign In”, then “Register”, and complete the registration form. Accept the terms and conditions and follow the confirmation link sent by email.
- After registration, log in to the Instrument Planning Portal. Its home page is shown below.
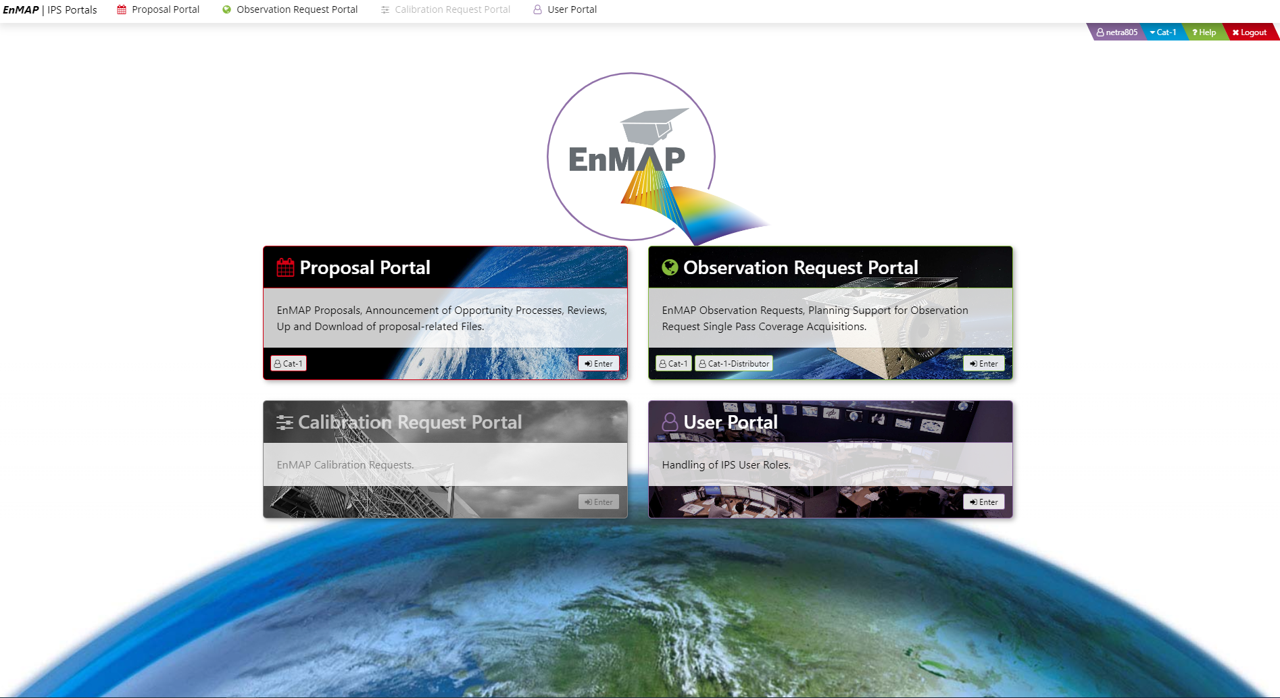 Image: Instrument Planning Portal Home Page
User portal
- Open the “User Portal” and select “Enter”.
- In the User Portal, scroll to “Role Assignment”. Request the Cat-1 role to submit proposals and future observation requests, and the Catalogue User (Cat1-Distributor) role to access the EnMAP data archive. You will receive an email when the roles have been assigned, usually within one day.
- Once the roles have been assigned, open “EOWEB Users” in the User Portal and log in to access the data archive (see below). Use the password you set during registration.
 Image: Login to EOWEB Users portal
Downloading EnMAP data
- In the EOWEB portal, select a study area and filter the dataset by date, time, and collection (EnMAP; see below).
 Image: EOWEB data archive.
- Add the selected images to the cart, choose “Proceed to checkout”, accept the terms and conditions, and submit the order.
 Image: EnMAP cart.
- You will receive an order summary. When your data is ready for download, follow the instructions in the email (not shown here).
For this course, the data will also be provided in Hessenbox.